How to Export Net Transactions from Authorize.Net (2026 Guide)
Follow these steps to export your Authorize.Net net transactions as a CSV file. Once exported, you can use any of our converter tools to transform the data for your target system.
Export Steps
Log in to the Authorize.Net Merchant Interface
Open your browser and go to account.authorize.net. Sign in with your Authorize.Net merchant login ID and password. If you have multi-factor authentication configured, complete the verification step to access your dashboard.
Navigate to the Reports tab
From the main navigation menu at the top of the Merchant Interface, click on the 'Reports' tab. This section provides access to various transaction reports including Transaction Details, Settlement, and Statistics reports.
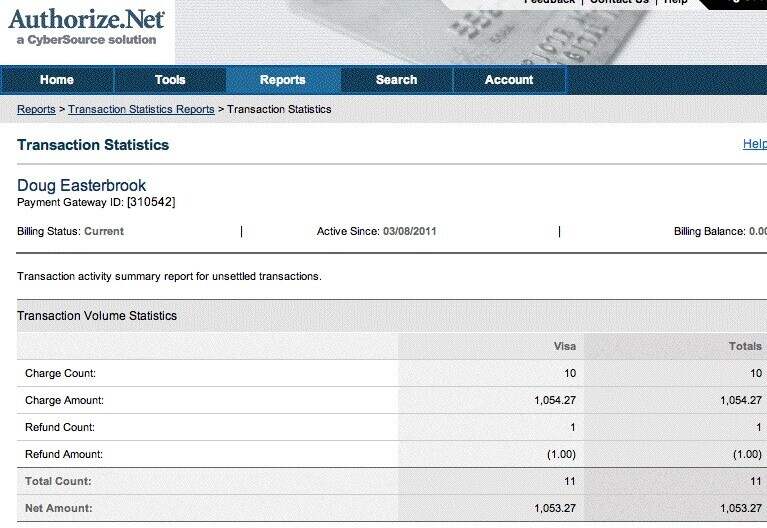
Select the Transaction Details report type
Choose 'Transaction Details by Settlement Date' from the available report options. This report shows individual transaction records grouped by their settlement batch, which is the most useful format for accounting and reconciliation.
Choose the transaction type and date range
From the Transaction Type dropdown, select the type you want to view. Choose 'Settled Transactions' to see all transactions that have been submitted for settlement. Then select a date range using the Start Date and End Date fields. You can select any range up to three months.
Run the report
Click the 'Run Report' button to generate the transaction details. Authorize.Net will display the results in a table showing Transaction ID, Submit Date/Time, Transaction Status, Payment Amount, Card Type, and other details. Review the results to confirm the filters are correct.
Download the report as CSV
Once the report is displayed, click the download or export option to save the data as a CSV file. The export includes Transaction ID, Invoice Number, Submit Date/Time, Settlement Date/Time, Transaction Status, Transaction Type, Payment Amount, Settlement Amount, Customer Name, Email, Payment Method, Card Type, Card Number (masked), and Authorization Code.
Verify the exported data
Open the CSV file in a spreadsheet application. Check that the Transaction Status column correctly reflects the types you expected (settledSuccessfully, refundSettledSuccessfully, etc.). Confirm that Payment Amount and Settlement Amount match, and that the Batch ID column is populated for grouping settlements.
Required Net Transactions Fields
| Field | Type | Description | Example |
|---|---|---|---|
| Transaction ID | Text | Unique gateway-assigned transaction identifier | 60198642341 |
| Submit Date/Time | Date/Time | When transaction was submitted (MM/DD/YYYY HH:MM:SS format) | 01/15/2025 10:30:45 |
| Transaction Status | Choice | Transaction processing status | settledSuccessfully |
| Payment Amount | Currency | Authorization/transaction amount | 149.99 |
Your Authorize.Net export must include these fields for successful conversion.