How to Import Journal Entry to QuickBooks Online (2026 Guide)
After converting your data with one of our tools, follow these steps to import the journal entry into QuickBooks Online.
Import Steps
Turn off account numbers
QuickBooks Online journal entry import requires that account numbers are disabled. Go to Settings (gear icon) > Account and Settings > Advanced. Under the Chart of Accounts section, turn off 'Enable account numbers'. If left enabled, the import will fail because QBO expects account names only, not numbers.
Verify your Chart of Accounts
Every account name in your CSV must exactly match an account in your QuickBooks Chart of Accounts. Go to Settings > Chart of Accounts and review your account list. For sub-accounts, use the 'Parent:Sub Account' colon-separated format in your CSV. If any accounts are missing, create them before importing.
Prepare your journal entry CSV
Format your CSV with the required columns: JournalNo, JournalDate, Account Name, Debits, and Credits. Each journal entry is identified by its JournalNo, and all rows sharing the same JournalNo form one entry. Debits and credits must balance for each entry (total debits must equal total credits). Use MM/DD/YYYY date format and leave the Debits column blank on credit lines, and vice versa.
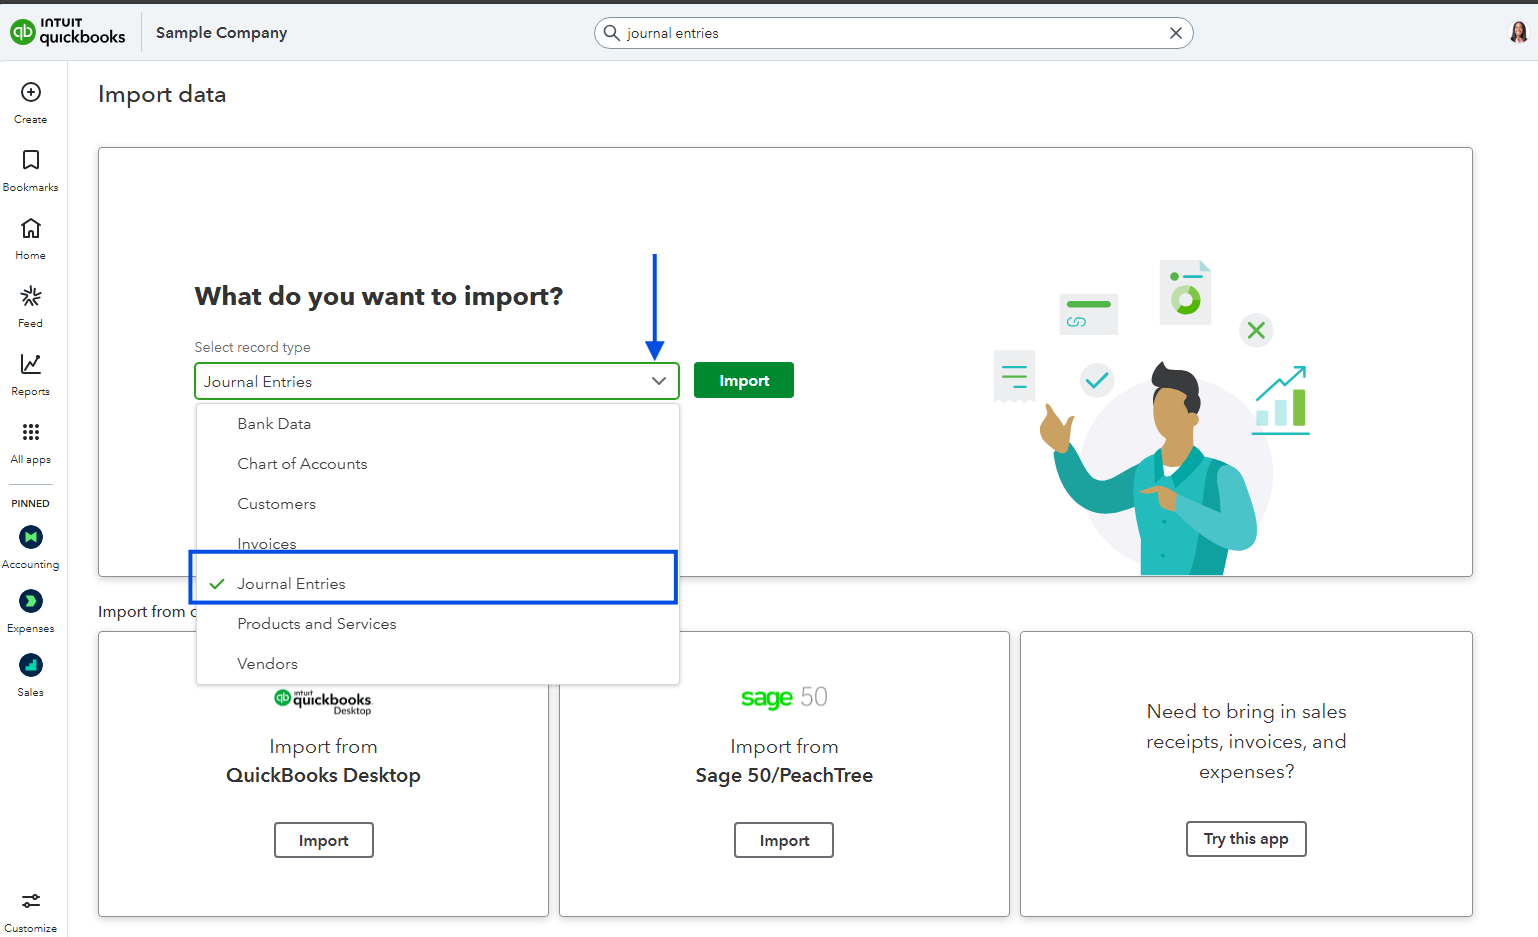
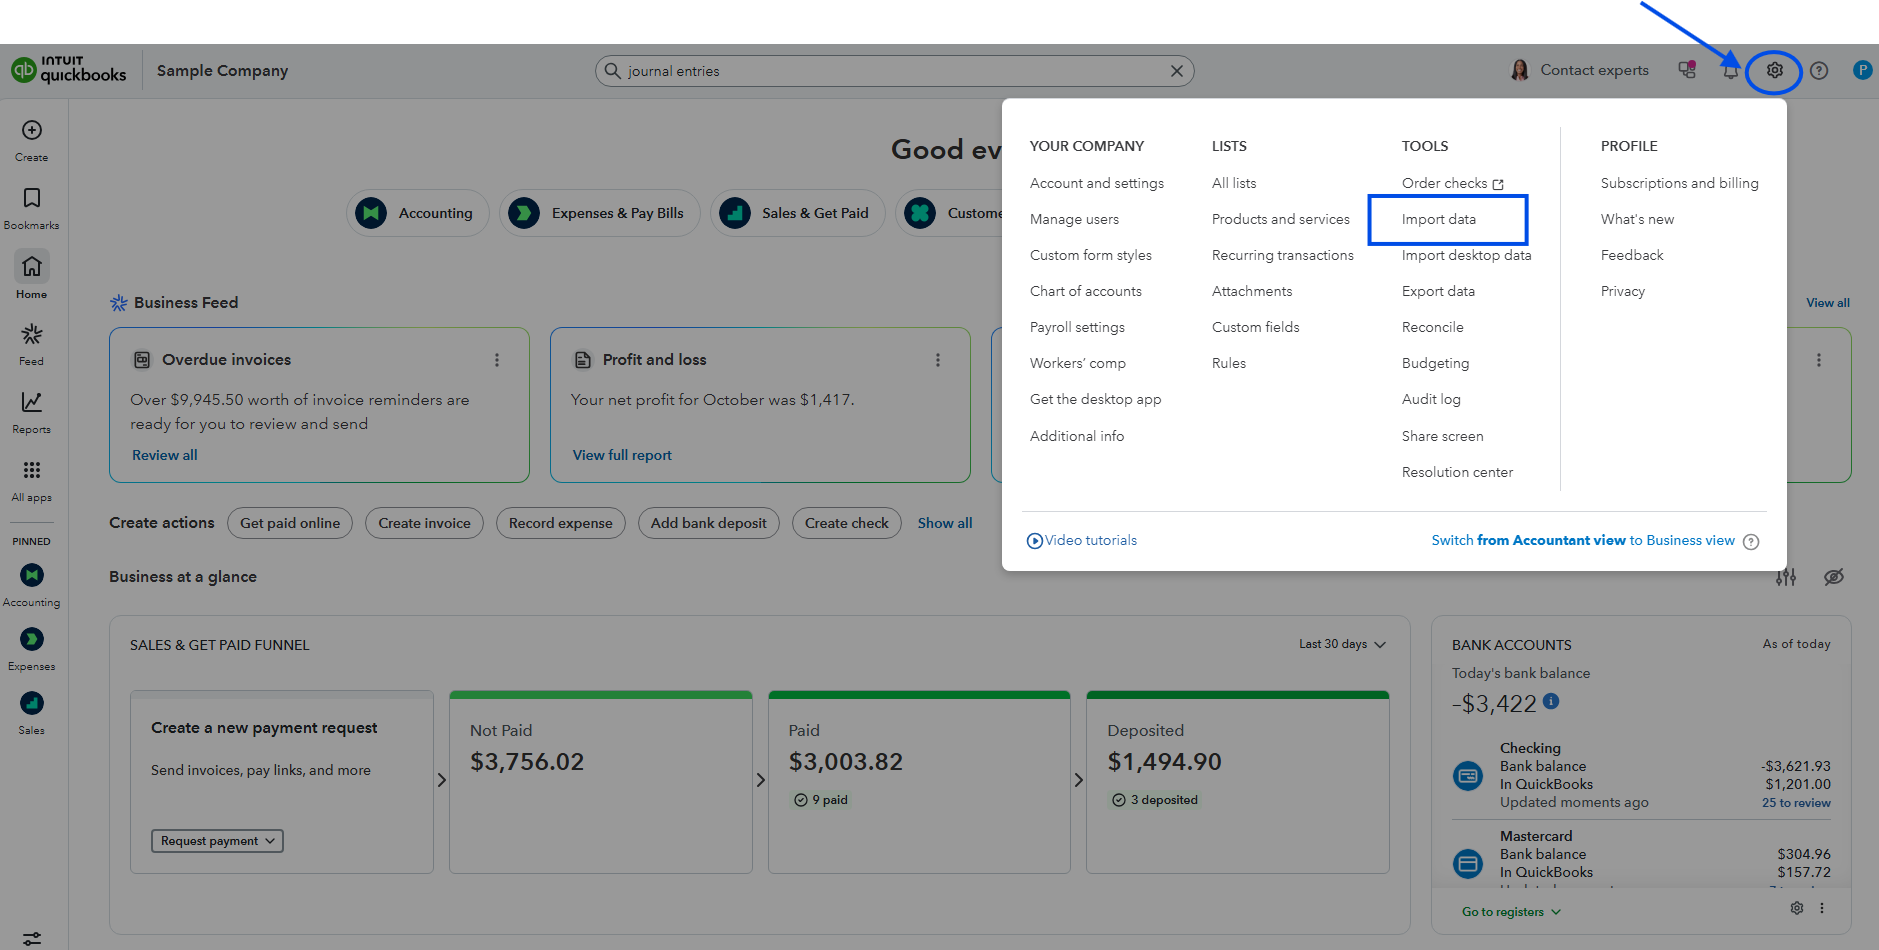
Open the Import Data tool
Click the Settings gear icon in the upper-right corner of QuickBooks Online. Under the Tools column, select 'Import Data'. On the Import Data page, click 'Journal Entries' to start the journal entry import workflow.
Upload your CSV file
Click the Browse button and select your prepared CSV file. QuickBooks accepts both CSV (.csv) and Excel (.xlsx) files. After selecting the file, click Next to proceed. You can also download the sample template from this screen to see the exact format QBO expects.
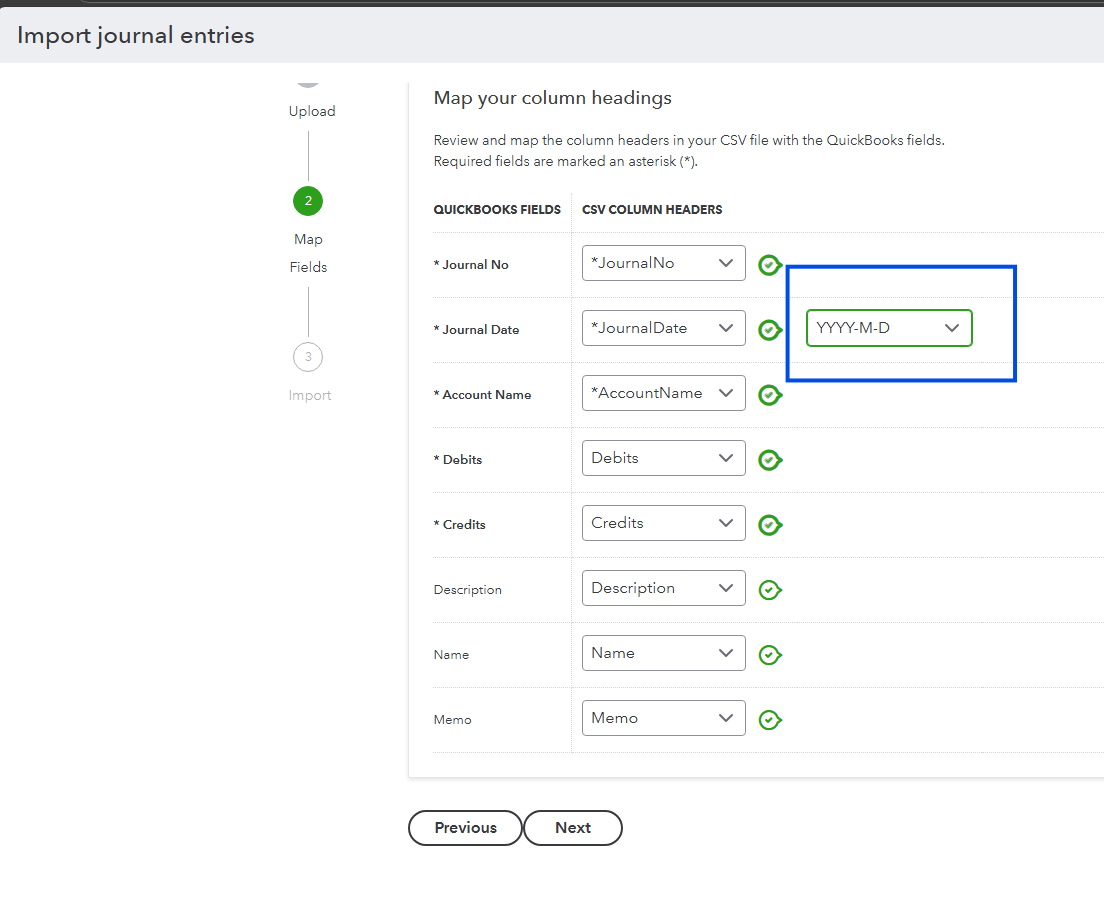
Map your columns to QuickBooks fields
QuickBooks displays a mapping screen showing your CSV columns alongside the QBO fields. Verify that JournalNo, JournalDate, Account Name, Debits, and Credits are correctly matched. Pay special attention to the date format selector at the top of the mapping screen. Fields with a green checkmark are correctly mapped.
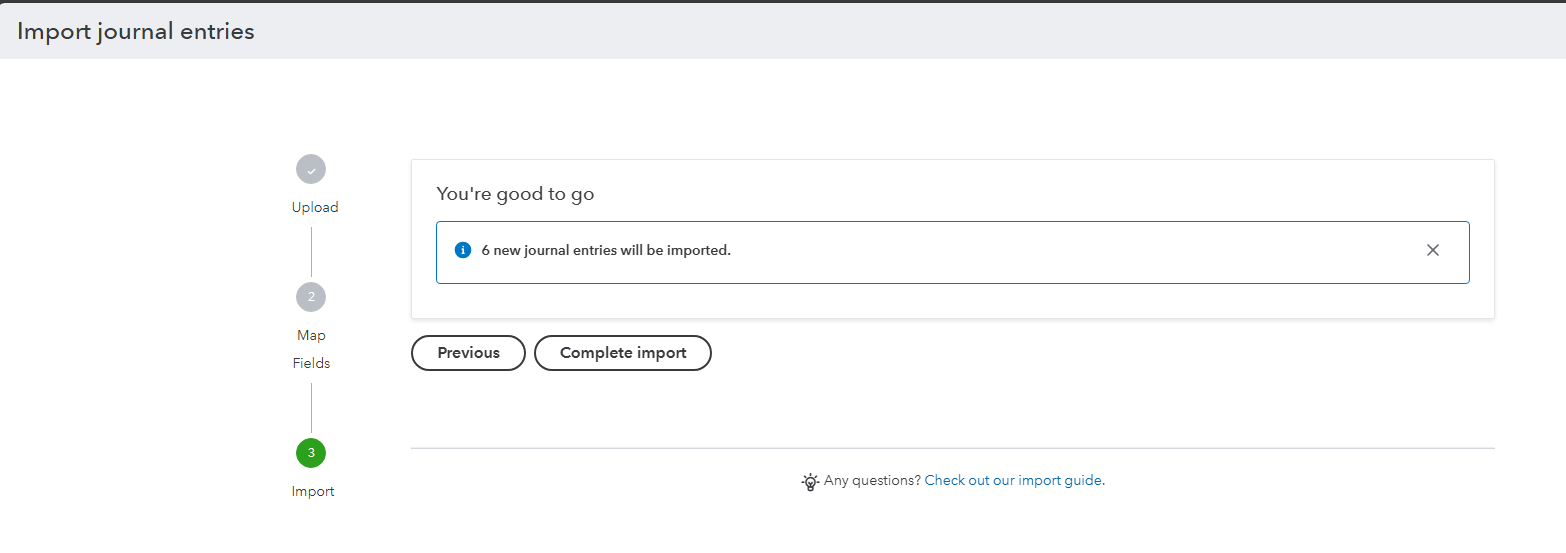
Complete the import
Click Next to review the data, then click 'Start Import' or 'Complete Import' to finalize. QuickBooks processes the entries and displays a summary showing how many journal entries were successfully imported. If any entries failed, you will see error details explaining what went wrong.
Verify the imported entries
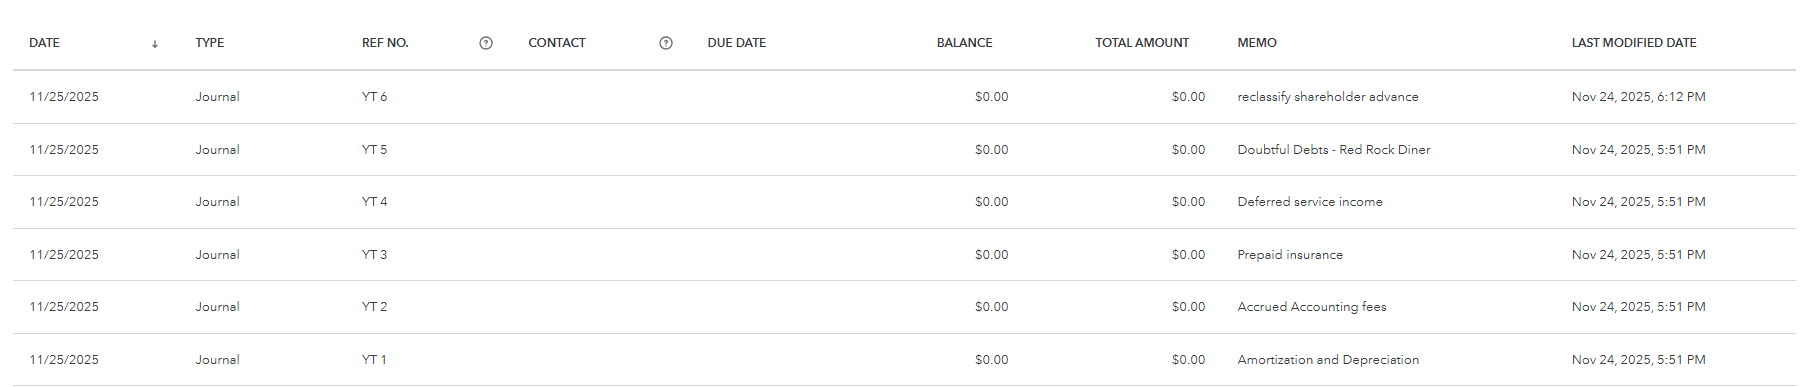
After the import completes, click the clock icon in the top navigation to access Recent Transactions, or go to Reports > Journal to see all journal entries. Check that dates, account names, debit/credit amounts, and descriptions are correct. Verify that each entry balances properly by opening individual entries and reviewing the line details.
Required QuickBooks Online Fields
| Field | Type | Description | Example |
|---|---|---|---|
| JournalNo | Text | Journal entry number (groups related lines) | JE-001 |
| JournalDate | Date | Journal entry date (MM/DD/YYYY) | 01/15/2025 |
| Account Name | Text | Account name (use 'Parent:Sub' for sub-accounts) | Sales:Product Sales |
QuickBooks Online requires these fields for successful import.