How to Export Orders from WooCommerce (2026 Guide)
Follow these steps to export your WooCommerce orders as a CSV file. Once exported, you can use any of our converter tools to transform the data for your target system.
Export Steps
Log in to your WordPress admin dashboard
Open your browser and navigate to your WordPress site's admin area, typically at yoursite.com/wp-admin. Enter your administrator credentials to access the dashboard. You need at least Shop Manager or Administrator role privileges to export orders.
Navigate to WooCommerce Orders
In the left-hand sidebar menu, click on WooCommerce to expand the submenu. Then click on Orders to open the orders list page. This page displays all your store orders with their status, date, and total amount.
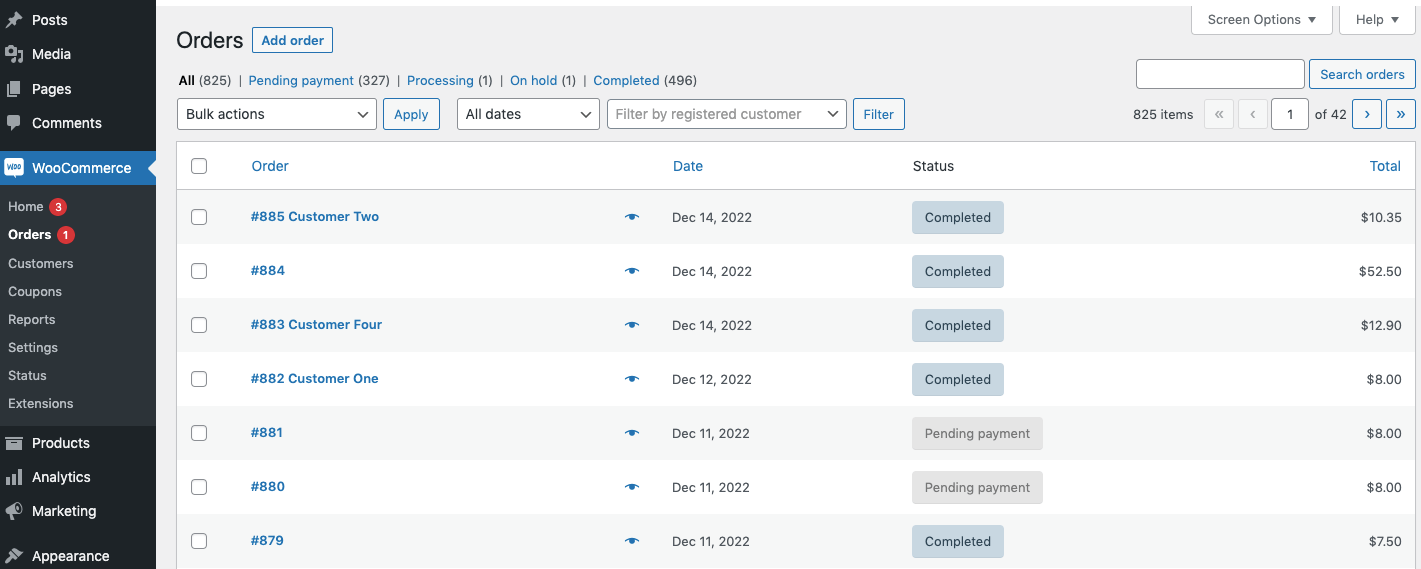
Filter orders by date range or status
Use the date range picker and status dropdown filters at the top of the orders list to narrow down which orders you want to export. You can filter by specific months, order statuses such as Completed or Processing, or use the search box to find specific orders by customer name or order number.
Select orders for export
Check the checkbox at the top-left of the orders table to select all visible orders on the current page, or individually check the boxes next to specific orders you want to include. If you need all orders across multiple pages, you may need to increase the number of items shown per page using Screen Options at the top of the page.
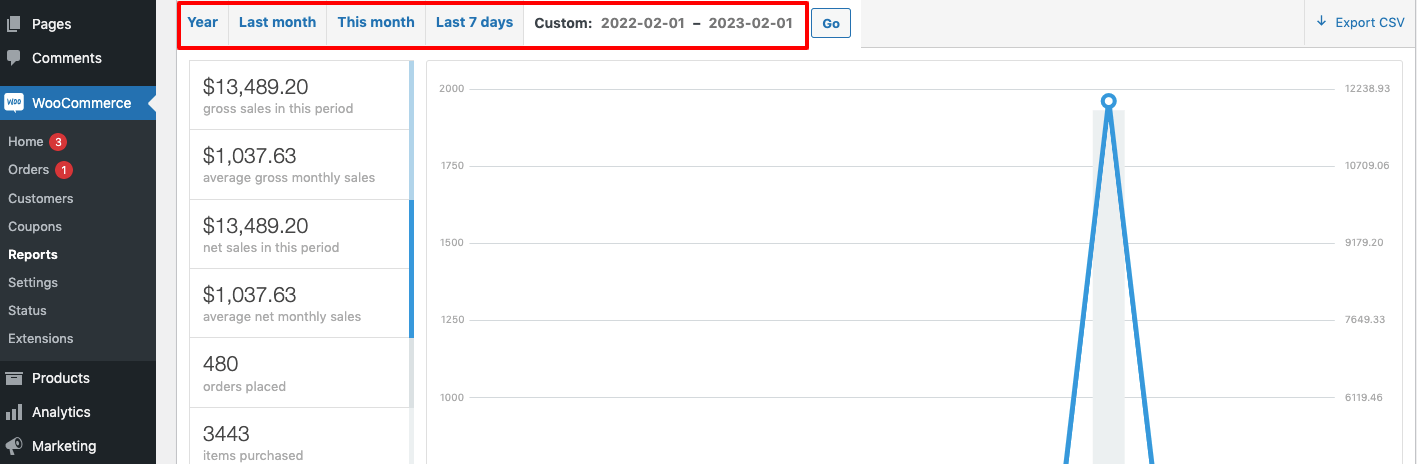
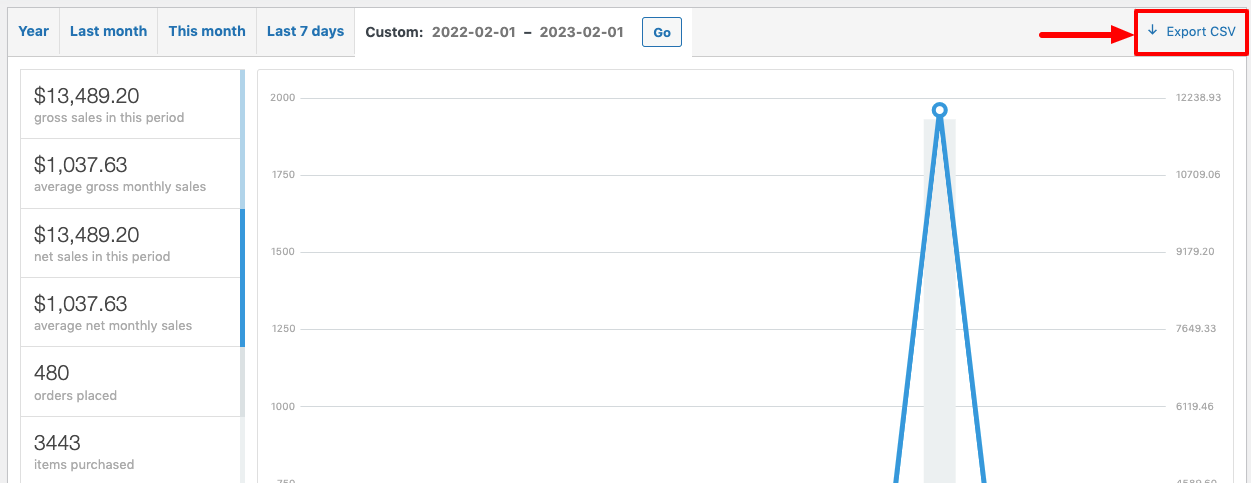
Open the Export dialog
Look for the Export button or link at the top of the orders page. In newer versions of WooCommerce, you can also use the Bulk Actions dropdown and select an export option. Some WooCommerce setups use the Analytics section under WooCommerce > Analytics > Orders for more advanced export options.
Configure export columns and format
In the export dialog, select CSV as your file format. Choose which columns to include in the export such as order ID, date, customer details, line items, and totals. For most accounting imports, keep all columns selected to ensure no data is lost during conversion.
Download the CSV file
Click the Export or Generate CSV button to start the export process. Your browser will automatically download the CSV file once it is ready. For large stores with thousands of orders, the export may take a few moments to process before the download begins.
Verify the exported file
Open the downloaded CSV file in Google Sheets or a spreadsheet application to verify that the data looks correct. Check that order dates, amounts, and customer details are properly formatted. Each line item in an order will appear as a separate row, with the order header information repeated for each product in the order.
Required Orders Fields
| Field | Type | Description | Example |
|---|---|---|---|
| order_id | Number | Unique order identifier | 12345 |
| order_date | Date/Time | Order creation date (ISO 8601 or Y-m-d H:i:s) | 2024-01-15 14:30:00 |
| order_status | Text | Order status (e.g., completed, processing, pending) | completed |
| order_total | Currency | Order grand total (including tax and shipping) | 155.50 |
| customer_email | Text | Customer email address | john@example.com |
| billing_first_name | Text | Billing first name | John |
| billing_last_name | Text | Billing last name | Doe |
| product_name | Text | Product title/name | Blue Widget |
| quantity | Number | Quantity ordered | 2 |
| line_subtotal | Currency | Line subtotal (before tax) | 50.00 |
Your WooCommerce export must include these fields for successful conversion.