How to Export Payouts from Shopify (2026 Guide)
Follow these steps to export your Shopify payouts as a CSV file. Once exported, you can use any of our converter tools to transform the data for your target system.
Export Steps
Log in to your Shopify admin
Open your browser and navigate to your-store.myshopify.com/admin. Sign in with your credentials. You must have Shopify Payments enabled on your store to access payout and transaction data. If you use a third-party payment gateway exclusively, this export will not be available.
Navigate to Settings then Payments
Click Settings in the bottom-left corner of your Shopify admin sidebar, then click Payments. On the Payments settings page, look for the Shopify Payments section and click 'View payouts'. This takes you to the payouts dashboard where you can see all deposits made to your bank account.
Switch to the Transactions tab
On the Payouts page, click the 'Transactions' tab to see all individual payment transactions. Each row represents a single charge, refund, chargeback, or adjustment. This is the data that will be exported to your CSV file.
Apply date and filter criteria (optional)
Use the date range picker and available filters to narrow down the transactions. You can filter by transaction date, payout date, payment method, card brand, and currency. Setting a specific date range is useful for monthly accounting reconciliation.
Click Export to download the CSV
Click the Export button at the top of the transactions list. The CSV file will include all transactions matching your current filters. For smaller exports, the file downloads directly. For larger datasets, Shopify emails the CSV to you and the store owner.
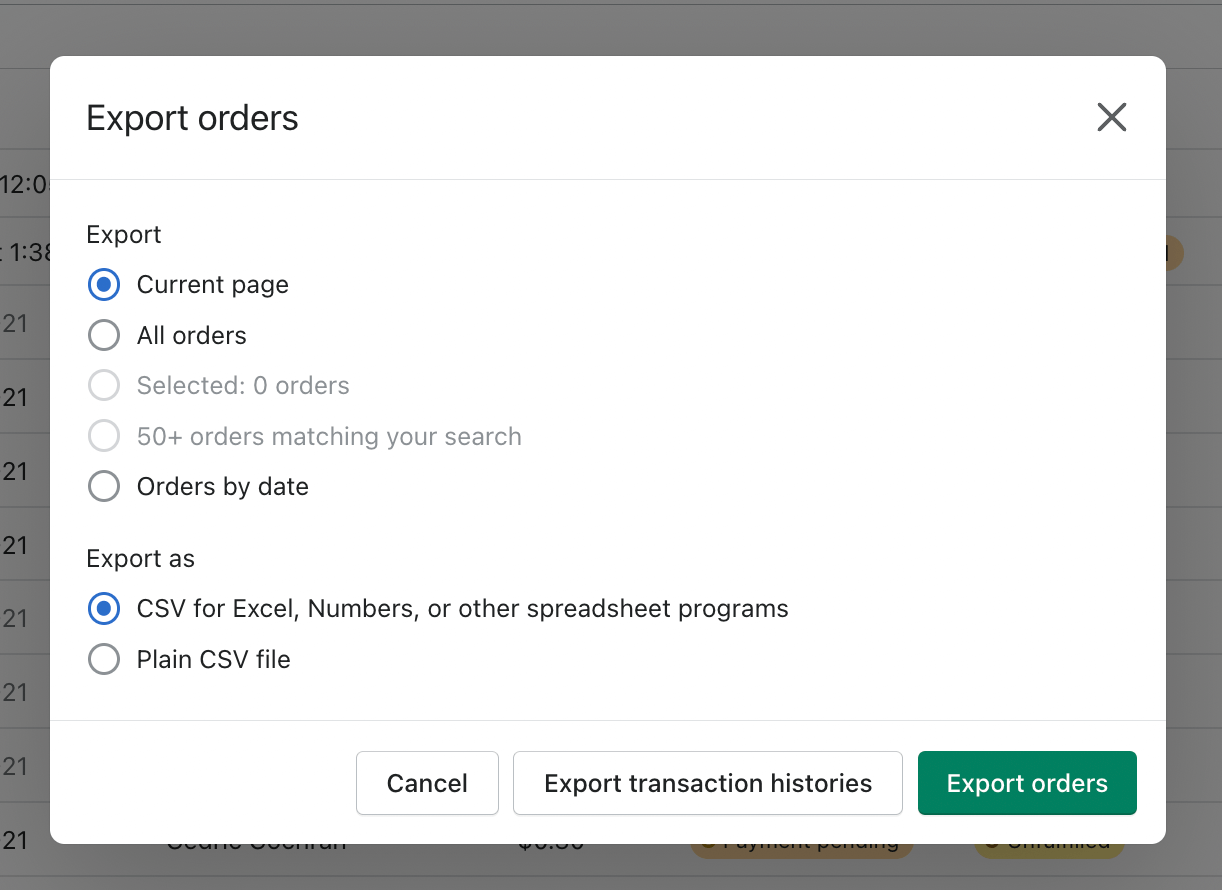
Alternative: Export via Orders page
You can also access the transaction export from the Orders page. Go to Orders, click Export, and then click 'Export transaction histories' instead of 'Export orders'. This produces the same Shopify Payments transaction CSV with charges, fees, and net amounts.
Review the exported transaction data
Open the CSV in your spreadsheet application. Each row contains a transaction with its date, type (charge, refund, adjustment), associated order number, card brand, gross amount, fee, and net amount. The Payout Date and Payout Status columns show when the funds were deposited to your bank.
Required Payouts Fields
| Field | Type | Description | Example |
|---|---|---|---|
| Transaction Date | Date | Transaction date | 2025-01-15 |
| Type | Text | Transaction type | charge |
| Amount | Currency | Transaction amount (gross) | 100.00 |
Your Shopify export must include these fields for successful conversion.