How to Import Bill to Xero (2026 Guide)
After converting your data with one of our tools, follow these steps to import the bill into Xero.
Import Steps
Navigate to Bills to Pay
Log in to your Xero account and click the Business menu in the top navigation bar. Select Bills to Pay from the dropdown. This page shows all your vendor bills organized by status including Draft, Awaiting Approval, Awaiting Payment, and Paid.
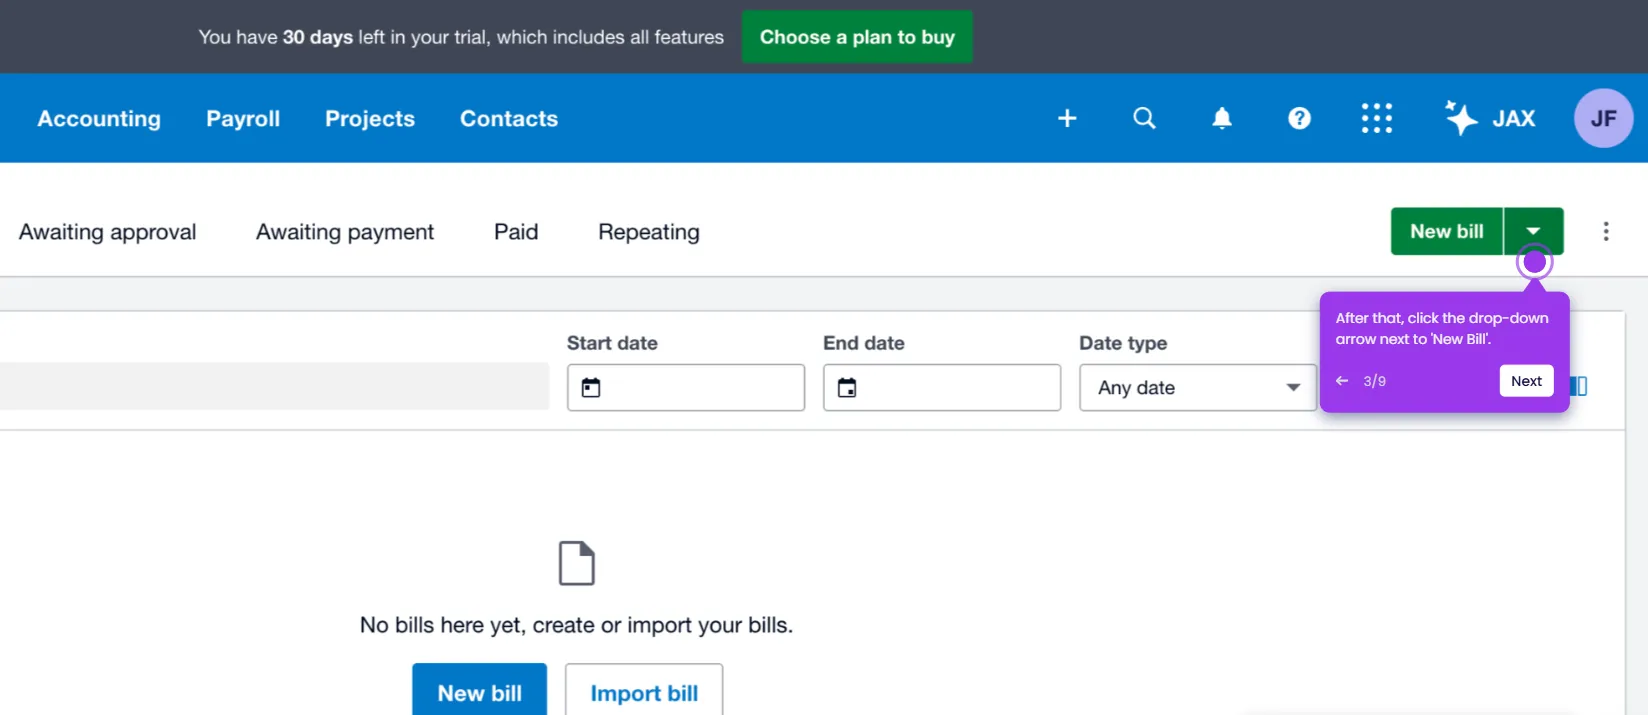
Open the bill import function
On the Bills to Pay page, look for the Import button or the Import From CSV option. Click it to open the bill import wizard. The wizard guides you through uploading and mapping your CSV data to Xero's bill format.
Download the bill import template
Click Download Template to get the official Xero bills CSV template. The template uses the same column structure as the sales invoice template but is configured for accounts payable. Required columns include ContactName (vendor), InvoiceNumber (the vendor's bill number), InvoiceDate, DueDate, Description, Quantity, UnitAmount, AccountCode, and TaxType.
Prepare your bill data
Open the template and enter your vendor bill data. Ensure ContactName values match existing supplier contacts in Xero or be aware that Xero will create new contacts for unrecognized names. The AccountCode column must reference expense account codes from your Xero Chart of Accounts (e.g., 400 for general expenses, 500 for cost of goods sold).
Handle multi-line bills
For bills with multiple line items, use the same InvoiceNumber, ContactName, InvoiceDate, and DueDate across multiple rows. Each row represents a separate line item with its own Description, Quantity, UnitAmount, AccountCode, and TaxType. Xero consolidates rows with the same InvoiceNumber and ContactName into a single bill.
Configure tax treatment
Ensure TaxType values exactly match the tax rate names configured in your Xero account (e.g., '20% (VAT on Expenses)' for UK, 'Tax on Purchases' for AU). When uploading, Xero asks whether your amounts are tax-inclusive or tax-exclusive. Select the option that matches how your vendor bills are formatted.
Upload and validate the file
Save your completed file as CSV and return to the Xero import wizard. Click Select File to browse and choose your CSV file. Click Next to proceed. Xero scans the file for errors and displays a summary showing how many bills will be created and any issues found.
Review and complete the import
Review the import summary for errors such as missing account codes, unrecognized tax types, or invalid dates. Fix any issues in your CSV file and re-upload if necessary. Once the summary looks correct, click Complete Import to create the bills.
Approve imported bills
Navigate to Business > Bills to Pay and open the Draft tab to see your newly imported bills. Review each bill for accuracy, checking vendor names, amounts, line items, and account codes. Once satisfied, select the bills and click Approve to move them to Awaiting Payment status where they become part of your accounts payable workflow.
Required Xero Fields
| Field | Type | Description | Example |
|---|---|---|---|
| ContactName | Text | Vendor/supplier name (must match existing contact or creates new) | Office Supplies Inc |
| InvoiceNumber | Text | Vendor invoice/bill number (unique) | INV-2025-001 |
| InvoiceDate | Date | Bill date (DD/MM/YYYY or MM/DD/YYYY based on region) | 10/01/2026 |
| DueDate | Date | Payment due date | 09/02/2026 |
| Description | Text | Line item description | Printer paper and supplies |
| Quantity | Number | Quantity | 1 |
| UnitAmount | Currency | Unit price (decimal, no currency symbol) | 150.00 |
| AccountCode | Text | Xero expense account code | 400 |
| TaxType | Text | Tax rate name (must exactly match Xero config) | 20% (VAT on Expenses) |
Xero requires these fields for successful import.