How to Import Csv Export to Contacts (2026 Guide)
After converting your data with one of our tools, follow these steps to import the csv export into Contacts.
Import Steps
Locate your downloaded CSV file
Find the contacts CSV file in your downloads folder. The file contains a flat table of contacts with columns for First Name, Last Name, Email, Phone, Company, Address fields, and more.
Open in a spreadsheet application
Double-click the CSV to open in Excel, or import into Google Sheets via File, then Import. The tabular format makes it easy to sort, filter, edit, and clean up your contact data before importing into a contacts app or CRM.
Edit and clean your contact data
Review the contacts and make any corrections needed. Remove duplicate entries, fill in missing phone numbers or email addresses, and standardize name formatting. The CSV format makes bulk editing straightforward compared to editing contacts one by one in an address book.
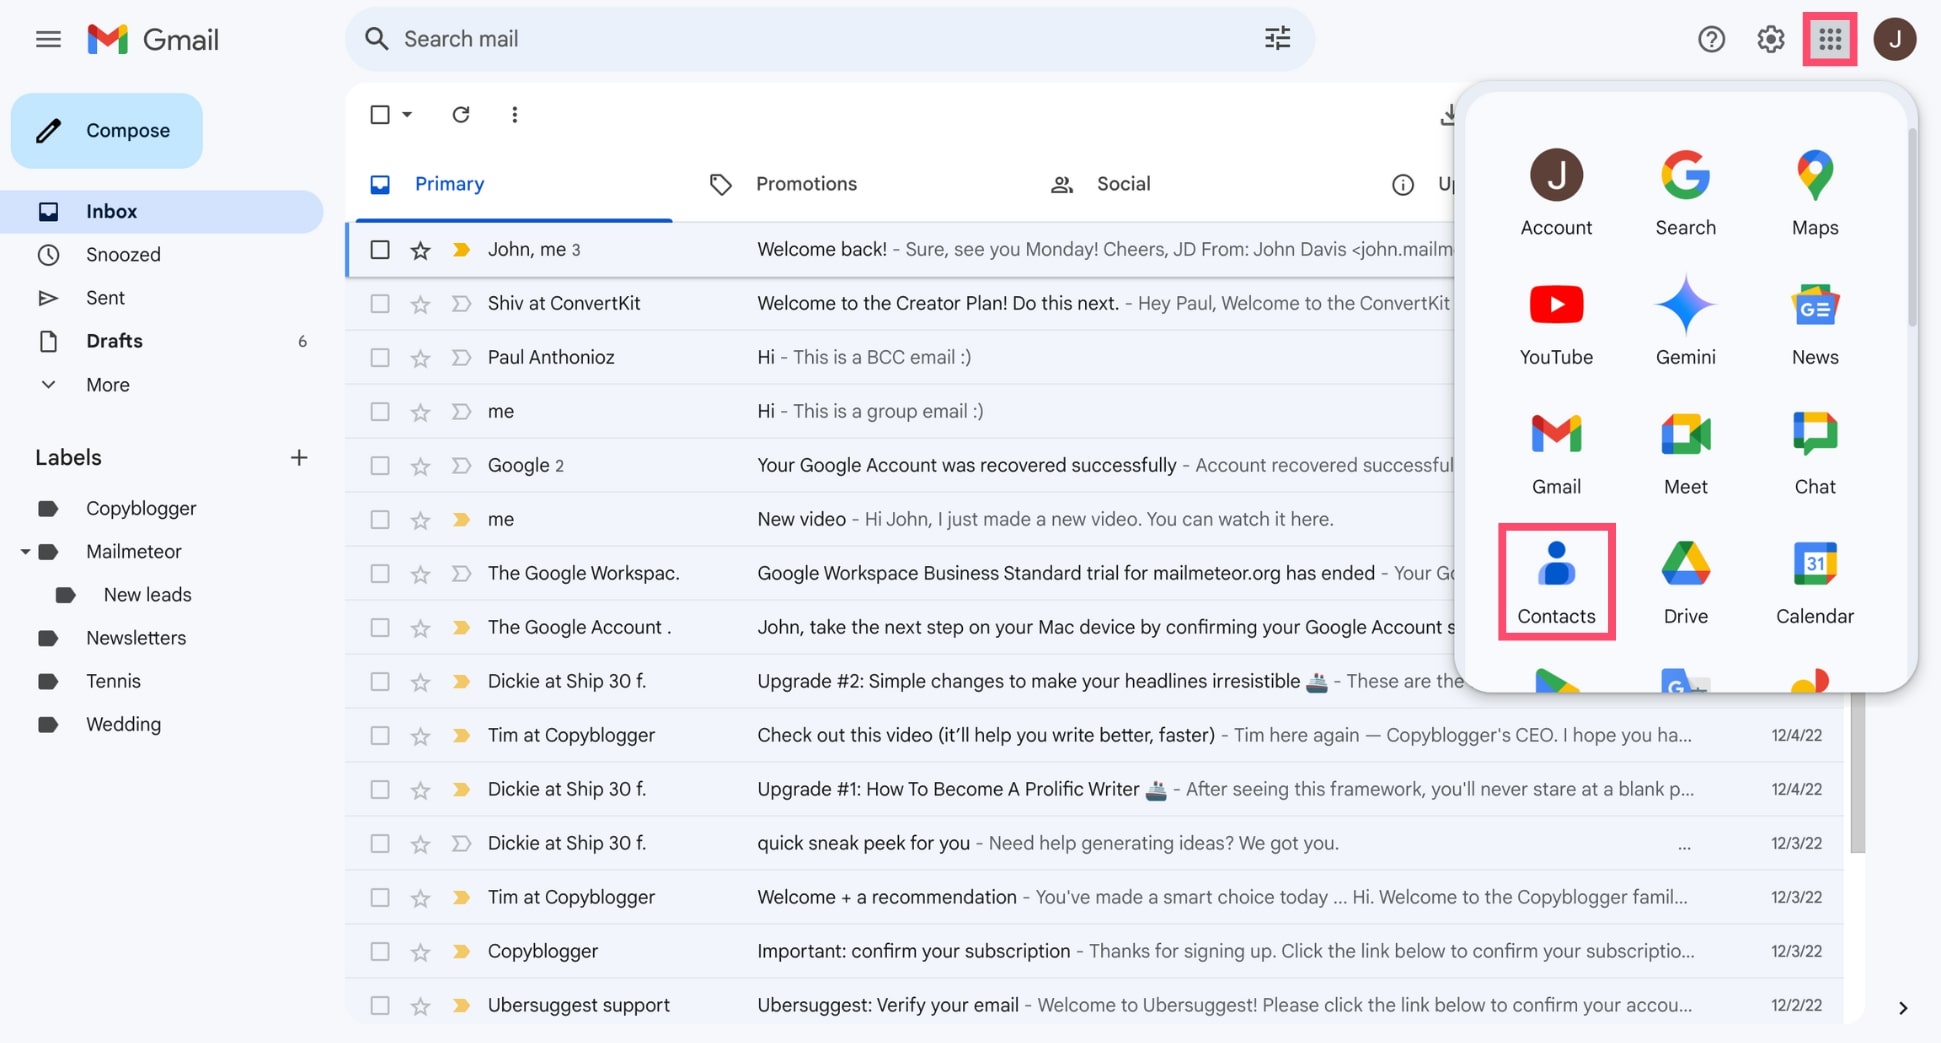
Import to a contacts application
Most contacts applications accept CSV imports. For Google Contacts, go to contacts.google.com, click Import, and select the CSV file. For Outlook, use File, Open & Export, Import/Export, then Import from file. Many CRM platforms also have CSV import features.
Verify imported contacts
After importing, browse your contacts list to verify that names, email addresses, phone numbers, and addresses imported into the correct fields. Some applications may require you to map CSV columns to contact fields during import.
Required Contacts Fields
| Field | Type | Description | Example |
|---|---|---|---|
| First Name | Text | First name | John |
| Last Name | Text | Last name | Doe |
Contacts requires these fields for successful import.